When you're out on the road or parked at a campsite during the heat of summer, an effective RV air conditioning system keeps your living space cool and comfortable. But you may be wondering: how does an RV air conditioner work?
In this guide, we’ll break down the key components, step-by-step operation, and essential tips for maintaining your RV AC to maximize performance.
- Purpose of an RV AC
- Understanding the Different Components
- Step-by-Step Process of AC Cycle
- Cooling Power & BTUs
- Types of RV ACs
- AC Efficiency & Advanced Features
- Maintaining Your RV AC
The Purpose of an RV Air Conditioner
Just like your home air conditioner, the purpose of an RV air conditioner is to cool your living space. An RV air conditioning unit helps maintain a comfortable temperature inside your RV by extracting heat and humidity from the air. This process not only cools the air but also significantly improves air quality. Humid, stagnant air can feel oppressive and lead to discomfort, but by removing excess moisture, your AC creates a healthier and more pleasant environment.
Many modern systems also double as heat pumps, making them versatile solutions for both cooling and heating. To achieve consistent, powerful cooling, keeping windows and doors tightly closed is essential. Doing so prevents warm air from entering and ensures the air conditioner works as efficiently as possible.
Understanding the Components of an RV Air Conditioning System
While many people think of the AC unit as a single piece, it’s actually a system made up of interconnected parts working in harmony. Let’s explore the key components that ensure your RV stays cool.
-
Thermostat
The thermostat controls the system, telling it when to turn on or off based on your preferred temperature. -
Air Distribution Box (ADB)
This is the ceiling-mounted unit inside your RV. It houses vents and fans that circulate air and sometimes includes the thermostat or control panel. -
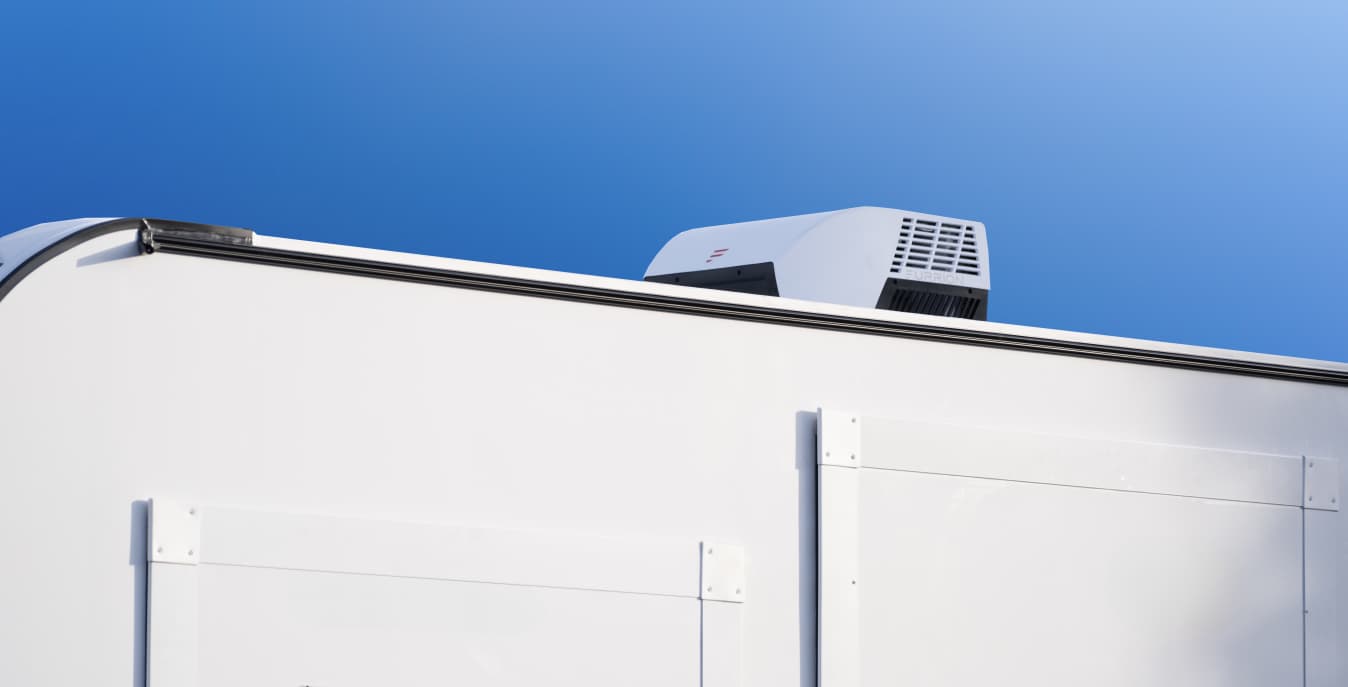
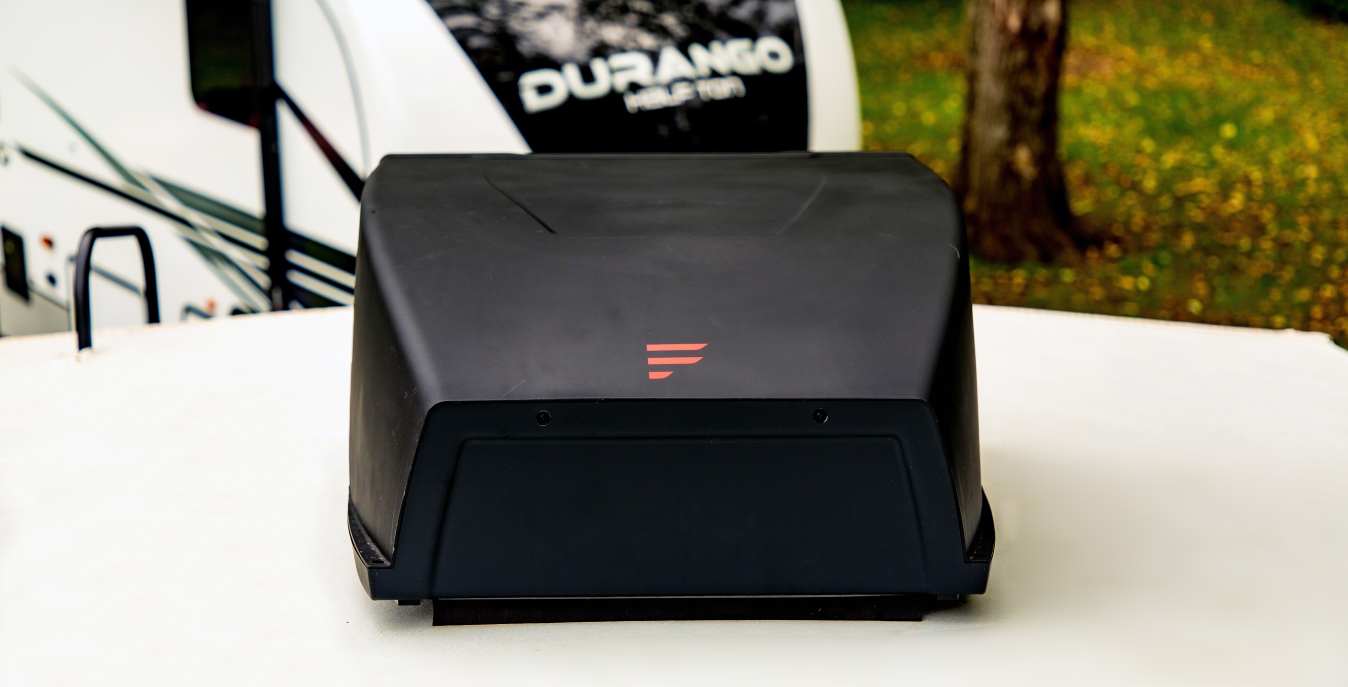
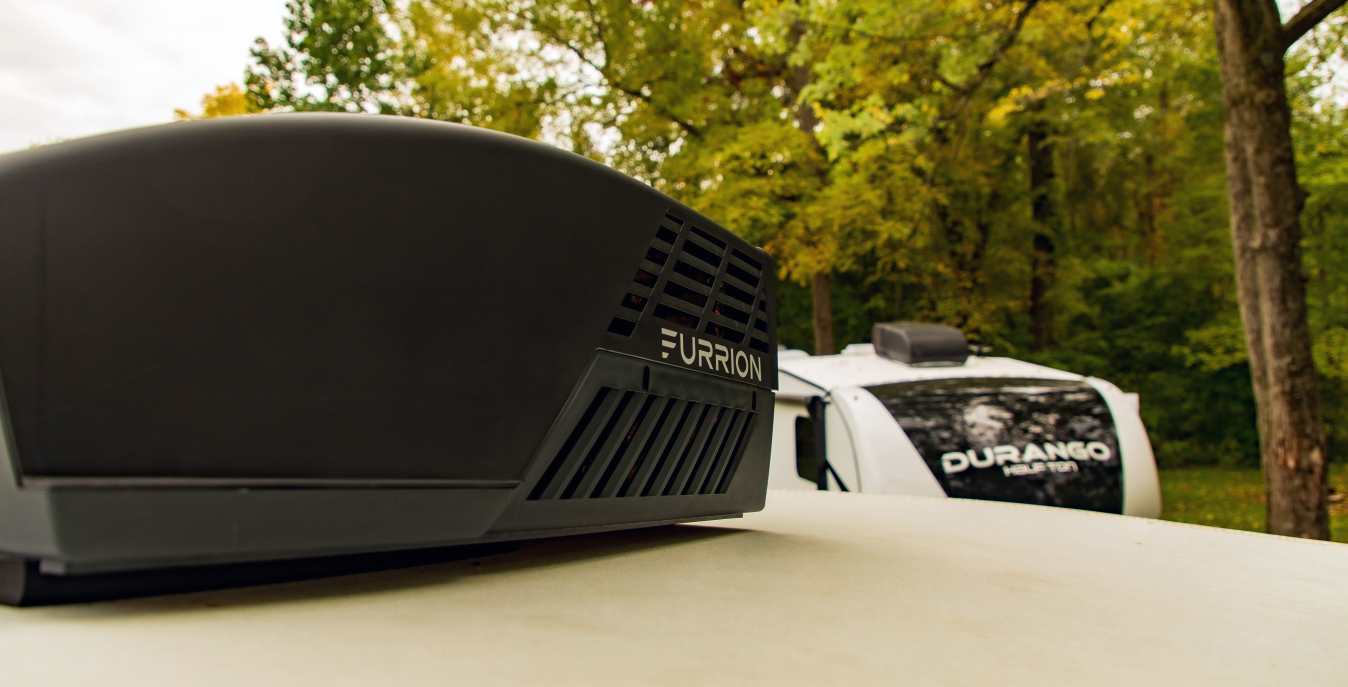
Rooftop Unit
This is the main body of the air conditioner, mounted on top of the RV. It houses critical components like the compressor, condenser coils, fans, and evaporator.
-
Evaporator Coils
These internal coils absorb heat from the RV’s air. Warm air is pulled across them, and the refrigerant inside cools it down before returning it to the cabin. -
Compressor
Located in the rooftop unit, the compressor pressurizes the refrigerant and keeps it moving through the system. -
Condenser Coils
These outdoor-facing coils release the absorbed heat from inside your RV to the outside air. -
Refrigerant
The refrigerant is a chemical that flows through the system, changing between liquid and gas to absorb and release heat. -
Fans
The fans move air across the evaporator and condenser coils, and help distribute cool air inside your RV. -
Filter
The filter catches dust and debris before the air is cooled, improving air quality and system efficiency.
Learn more about the parts of an RV AC
How an RV Air Conditioner Works Step-by-Step
The operation of an RV air conditioner revolves around a simple heat exchange cycle. It starts with the thermostat, but each component plays a vital role. Here is a step-by-step of how an RV AC actually works to cool your camper.
Step 1: Thermostat Measures Room Temperature
The process begins when the thermostat detects that the interior temperature has risen above your pre-set level. It sends a signal to start the cooling cycle.
Step 2: Intake of Warm Cabin Air
A fan in the air distribution box (ADB), mounted on the ceiling inside your RV, draws warm, humid air from the cabin into the system.

Step 3: Heat Absorption by Evaporator Coils
Inside the rooftop unit is an evaporator coil filled with low-pressure liquid refrigerant. The warm air passes over these coils, and the refrigerant absorbs the heat, causing it to evaporate into a gas. This process cools the air significantly.
Step 4: Distribution of Cooled Air
After passing over the evaporator coils, the cooled, dehumidified air is blown back into the RV living space through the ADB vents and filters, delivering comfort and improved air quality.

Step 5: Compressor Pressurizes Refrigerant
The gaseous refrigerant is carried outside (in the rooftop unit) to the compressor, which pressurizes the refrigerant. This step raises both its temperature and pressure, preparing it for heat rejection.
Step 6: Heat Release via Condenser Coils
Next, the high-pressure hot gas travels through condenser coils. A fan blows outside air over these coils, causing the refrigerant to give up its heat to the outdoors and condense it back into a liquid.
Step 7: Refrigerant Cycle Restarts
The liquid refrigerant then flows through an expansion valve (or orifice tube), dropping in pressure and temperature. It returns to the evaporator coils to repeat the cycle as long as cooling is needed.
Step 8: Thermostat Re-Evaluates Temperature
Once the cabin reaches the desired temperature, the thermostat stops the compressor and fans. If the temperature rises again, the whole cycle restarts, maintaining a consistent, comfortable environment.
RV AC Cooling Power & BTUs
The cooling capacity of an air conditioner is measured in British Thermal Units, or BTUs. The higher the BTU rating, the greater the cooling power. For instance, a 15,000-BTU unit is standard for large motorhomes, while smaller trailers might require a 13,500-BTU unit or less. Choosing the right size is critical: an underpowered AC will struggle to cool your space, while an oversized unit can cycle too quickly, reducing efficiency. Additionally, you should always ensure that your RV’s electrical system can handle the power requirements. Inadequate wiring or breakers can lead to overheating, tripped circuits, or even damage.
Types of RV Air Conditioners
RV air conditioners come in various designs, each suited for different needs:
- Rooftop Units: These are the most popular choice because of their powerful cooling capacity and space-saving design. They are mounted externally, freeing up interior space but requiring careful consideration of roof height.
- Wall-Mounted or Side-Mount Units: These are ideal for compact RVs or where rooftop space is limited. They provide decent cooling but may not offer the same power as rooftop models.
- Under-Bench Units: Installed beneath furniture, these units maximize space efficiency and keep the system hidden from view. However, they are less common and often require specialized installation.
- Ducted vs. Non-Ducted Systems: Non-ducted systems blow air directly into the living area, typically using a single air vent, while ducted systems distribute cool air through a network of vents, providing more even temperature control throughout larger RVs.
- Single-Zone vs. Multi-Zone Systems: Single-zone systems use one thermostat to control the temperature across the entire RV. They are simpler and more cost-effective, making them ideal for smaller rigs. In larger motorhomes or luxury RVs, multi-zone systems allow you to set different temperatures for separate areas. For example, you can keep the bedroom cooler at night while maintaining a warmer living space. Multi-zone systems offer greater customization and comfort but come with higher installation and maintenance costs.
Learn more about the different AC types

RV AC Efficiency & Advanced Features
Today’s RV air conditioners boast a range of features to improve performance and convenience:
- Energy Efficiency Ratings: High-efficiency units consume less electricity, reducing your power bills and your RV’s environmental impact. Look for models with Energy Star ratings or advanced inverter technology.
- Noise Levels: Consider decibel ratings when selecting a unit. Quieter models enhance your RVing experience, allowing for restful sleep and uninterrupted relaxation.
- Heat Strips: These elements enable your AC to double as a heater, extending its usefulness into colder months.
- Programmable Thermostats: These allow for precise, automated temperature control, letting you set cooling schedules.
- Dehumidification Modes: Controlling moisture levels is key to comfort. Many units have built-in modes to reduce humidity, which can also help prevent mold and mildew.
Maintaining Your RV Air Conditioner
Proper maintenance prolongs the life of your air conditioning unit and ensures peak performance:
- Clean the Evaporator and Condenser Coils: Dirt and debris accumulate on these coils over time, reducing efficiency. Regular cleaning prevents overheating and mechanical strain.
- Replace Filters: Dirty filters block airflow and compromise cooling performance. Inspect and replace filters regularly for maximum efficiency.
- Check Refrigerant Levels: Low refrigerant leads to diminished cooling power and can damage the compressor. If you notice poor performance, have a technician check and recharge the refrigerant if necessary.

Understanding how an RV air conditioner works helps you maximize comfort and efficiency while on the road. By knowing the key components, choosing the right system, and performing regular maintenance, you can ensure a comfortable, enjoyable RV experience no matter where your adventures take you.
FAQs About How an RV Air Conditioner Works
1. How does an RV air conditioner cool the air?
An RV air conditioner cools the air by drawing warm air from inside the RV and passing it over evaporator coils filled with refrigerant. The refrigerant absorbs the heat, and a fan blows the cooled air back into the RV while expelling heat outside through condenser coils.
2. Why does my RV air conditioner keep cycling on and off?
Frequent cycling could be due to an oversized unit for the RV’s space, causing it to cool too quickly and shut off before removing sufficient humidity. It may also indicate a faulty thermostat or restricted airflow from dirty filters.
3. Can I run my RV air conditioner on a generator?
Yes, many RV air conditioners can be powered by a generator. However, you need to ensure the generator has enough capacity to handle the AC’s startup surge, which typically requires more power than continuous running.
4. What size air conditioner is best for my RV?
The size depends on the RV’s square footage. A 13,500-BTU unit is suitable for smaller RVs, while larger motorhomes often require a 15,000-BTU model. Choosing the correct size prevents inefficiency and excessive wear.
5. How often should I clean or replace the air filters?
You should inspect and clean the air filters monthly during peak use. Replace them as needed or according to the manufacturer’s recommendations to maintain airflow and efficiency.
6. Why is my RV air conditioner not blowing cold air?
This issue can be caused by low refrigerant levels, dirty coils, or a malfunctioning compressor. Regular maintenance and professional inspection to avoid freeze-ups can help resolve these problems.
Shop RV Air Conditioners
Disclaimer: These photographs, recommendations, and approximations are intended for demonstration purposes only and do not reflect the specifications of any particular tow vehicle, recreational vehicle, or trailer. Always consult the manufacturer’s Owner's Manual.


How to Clean an RV AC
Types of RV Air Conditioners Explained